Wednesday 21 May 2014

Coconut heart cupcakes with Creative Tops


I made some yummy coconut cupcakes this sunny afternoon. They taste great and are a nice change from the normal vanilla cupcakes I think. I used a recipe online but adapted it (as per). You know me by now I hardly ever follow cooking instructions, I normally just adapt it as I go along.


                                                                                                  RECIPE
2 cups all purpose flour
2 1/4 teaspoons baking powder
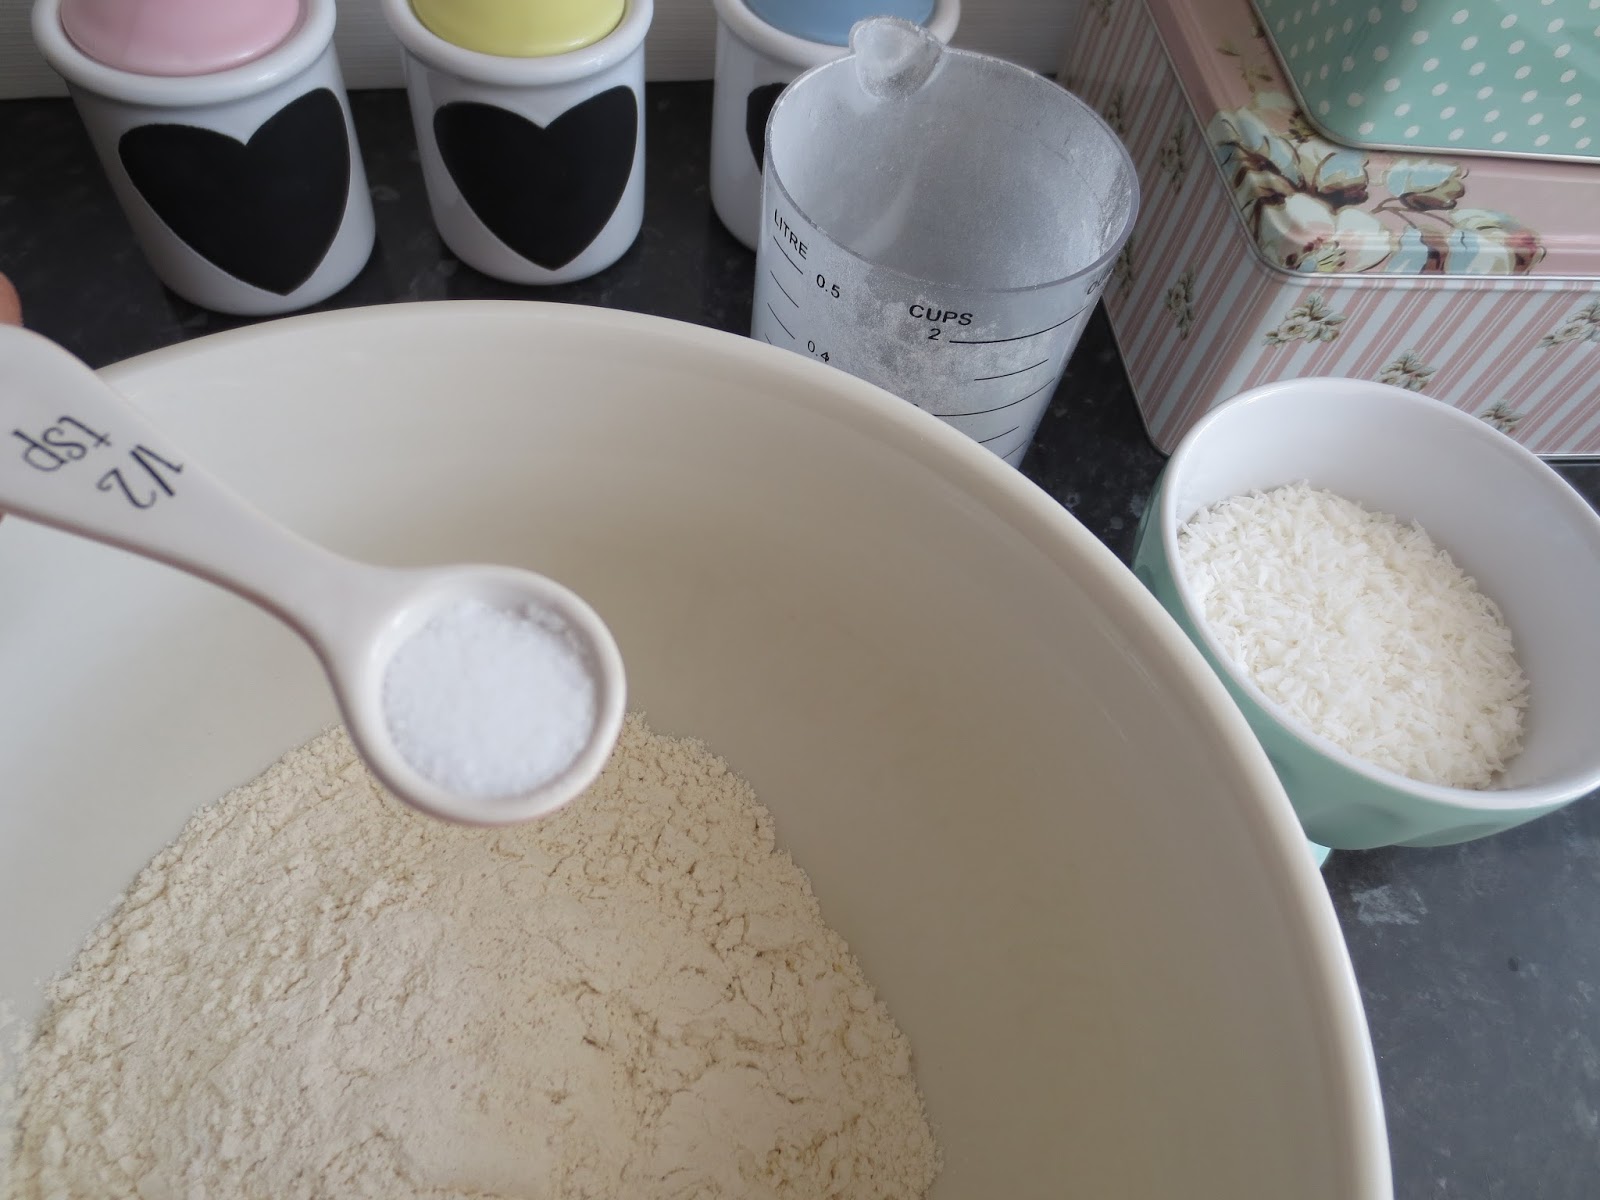
1/2 teaspoon salt
3/4 cup (1 1/2 sticks) unsalted butter, room temperature
1 1/3 cups sugar
3 large eggs
1 cup desiccated coconut

METHOD
Mix it all together really well, pop into cases and then pop it into a preheated oven. 220C for around 10-15 minutes. (Mine overcooked a little as you can see, haha - I became preoccupied with other things. Fail. Just keep an eye on them. 
For the frosting I mixed together icing sugar, milk and butter. I spread the buttercream over the cupcakes and then sprinkled over a little more desiccated coconut over the top and sprinkles on some.

This is a very picture heavy post but I just had to show you all the new kitchenware I got recently courtesy of CreativeTops / The English Table. The style is so me, and honestly I have never been so excited about a collaboration than with this one! The items are from two different ranges; Katie Alice and Retro Treats. They are super high quality and make baking fun. All the ranges are absolutely beautiful and I have my eye on a few more things - need to complete the collection.

The heart silicone cases are adorable and the little heart pots are so cute for storing sprinkles. 


Retro Treats
Retro stripy Cupcake cases - sold out

Katie Alice (Cottage Flower collection)


I hope you enjoyed this post, what have you been up to this week? Hope you are making most of the sun being out. Do let me know in the comments what you think of the cupcakes!


Saturday 10 May 2014

Diy Paper Peonies

White room, little hints of pastel pink, peonies... yes I do sit on Pinterest a little too much. Peonies are one of my all time favourite flowers, they are so pretty and the fact they come in different colours  and variations means that you can always change up the feel of a room. I have never come across any real peonies so I was then on the hunt for a few fake ones. The ones I saw weren't the style/colour I was after and also they looked a little tacky so I thought why not make my own, not only will it be cheaper but knowing you have made them your self makes them a little more special.
I apologise in advance for the lighting in the photos, the weather was terrible today but I really wanted to get this post up after so many requests! Think I might invest in some soft box lighting.
____
You will need:
Tissue paper (cheapest I have found - £1.45 for 10 sheets)
PVA glue
Florist wire (or bamboo skewers)
Scissors
___
For the flower heads you will need 2 different sized circles, the biggest should be 3 inches, and then the smaller one should be around 3cm smaller. (In all honesty I didn’t use measurements) With the tissue paper fold over the squares twice over and then cut a curve round the edge to make the circular shape.
___
You will need 8 bigger circles and 6 small circles.
Next you need to cut scalloped shapes on the edges. Then in order to make the peonies less flat and more textured you need to crumple them up, just be careful though as the tissue paper is quite delicate.
____
Now to make the flower we will start from bud to end, so take your wire and make a small hook shape on the end in order to hold the flower. (or if using a bamboo skewer put a small ball of blue tack over the end). Next feed through one of the smaller circles and apply a dot of glue to the top of the wire. Twist the circle around the top of the wire until a bud is formed. Repeat this with the other 3 smaller circles.
___
Now on to the main flower use all of the bigger circles and use the same method as before, ensure you keep a hold of the bottom of the flower so the wire doesnt come loose. It is hard to photograph this but just slide the paper through the wire and add a dot of glue to the bottom part of the bud, then twist the circle around the wire.
____
To even the flower out you need to add 2 more of the smaller circles around the bottom, and once again use the same method as before. Slide the circle up the wire, add a dot of glue to the center and twist.
______
Now your flower is complete, you can leave the flower as is with the meal wire or like me you can paint it green, although to be honest painting it green was a little pointless as once in the glass it isn’t visible.
I hope you enjoyed this post, I love the way the flowers turned out and they are so simple and easy to make. They complete the room. Let me know what you think in the comments.

Saturday 3 May 2014

Loving lately


My Maxitone Shaker bottle has been accompanying me throughout the day - I don’t drink meal replacement shakes as they contain artificial sweeteners 99.9% of the time however I couldn’t pass up on the Pink on the lid so I use it this bottle for water instead. 

Essie Fiji is a nail polish I loved and wore a lot last summer, surprisingly this year is no different. The pale pink looks so pretty with a tan.

 I adore my little Pandora Opal ring, it is so and dainty and looks even better when stacked with other rings. Next on my list of things to buy is the Pandora pink Rose ring, I love Pandora rings because they are timeless and the fact they don’t tarnish totally wins me over. As an avid list writer there is nothing more unsightly than neon pink sticky notes dotted around everywhere. 

I went to Home Bargains for the first time ever the other day and brought this cute floral note taking pad, the floral print is much better to look at. A little quote I found online recently, ‘Enjoy today’ I always get caught up with trivial things and sometimes its important to take a step back and re-evaluate. 

I featured my favourite watch from ALDO a while ago, it has interchangeable straps which makes it so versatile. I recently switched to the pink snake skin effect strap, it makes me feel so summery as it is quite a bright pink.

I very recently hit 800 bloglovin followers! Overwhelmed is not the word, I am honestly so grateful it really means a lot to know you enjoy reading my blog. I was informed that the Cosmo Blog Awards have also recently started again and I would love if you could nominate aleelily as ‘Best Lifestyle Blog’. How awesome would it be to get shortlisted. Only if you want to nominate of course, I can’t help but include a shameless plug! 

As of now, I have just consumed a huge burger and later I am getting a pizza I think; the‘diet’ is officialy over. I need carbs, cheese and more carbs.

I hope you enjoyed this post, do let me know your recent favourites and if you have tried anything from my favourites.

Blog design by aleelilydesigns